How to Plug Into Shore Power

Having an RV solar system definitely doesn’t mean you have to boondock all the time! When you’d like to relax at an RV park, you can easily set your solar system to allow 120VAC power to pass through and plug into shore power.
Watch Tom walk you through step-by-step how to connect to shore power. Take this video on the go by scanning the QR code below!

1. Turn your inverter “ON”
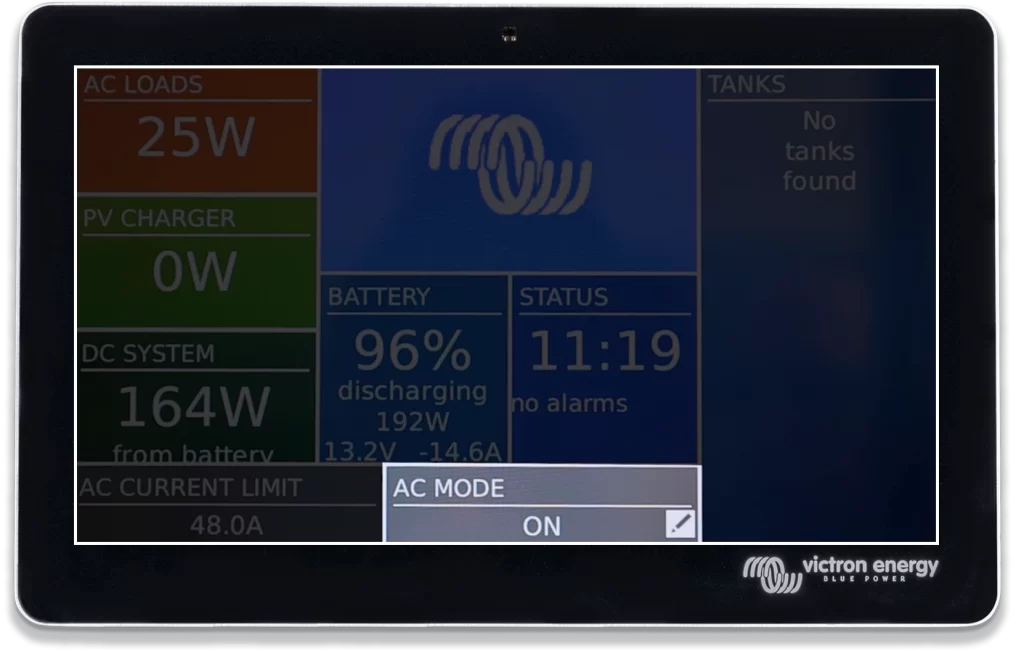
It may seem obvious, but double-check that your Victron inverter is set to “ON”. You will not be able to adjust the incoming power’s current in the next step if the inverter is “OFF” or set to “Charger-Only”.
2. Set the current limit
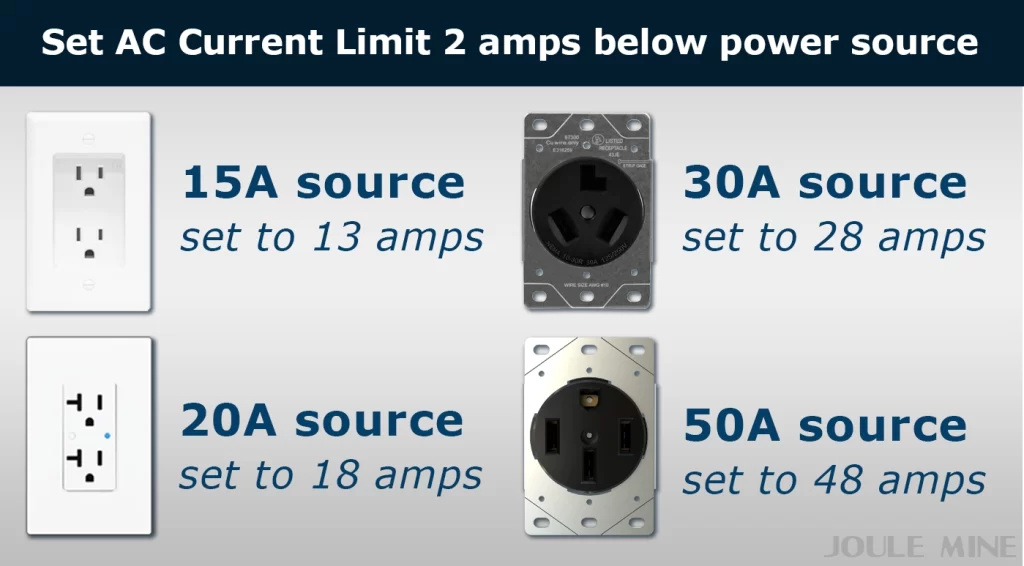
Adjust the current limit to ~2 amps below the outlet you’ll be plugging into for shore power. For example, if you’ll be plugging into a 50 amp pedestal at the RV park, set the current limit to 48 amps to ensure you don’t pop the pedestal breaker.
3. Plug into shore power
Flip the breaker on the shore power pedestal to the “OFF” position. Insert your shore power cord fully and firmly into the outlet, ensuring it is properly seated and without movement. Turn the breaker on.
4. Monitor Your Touch Screen
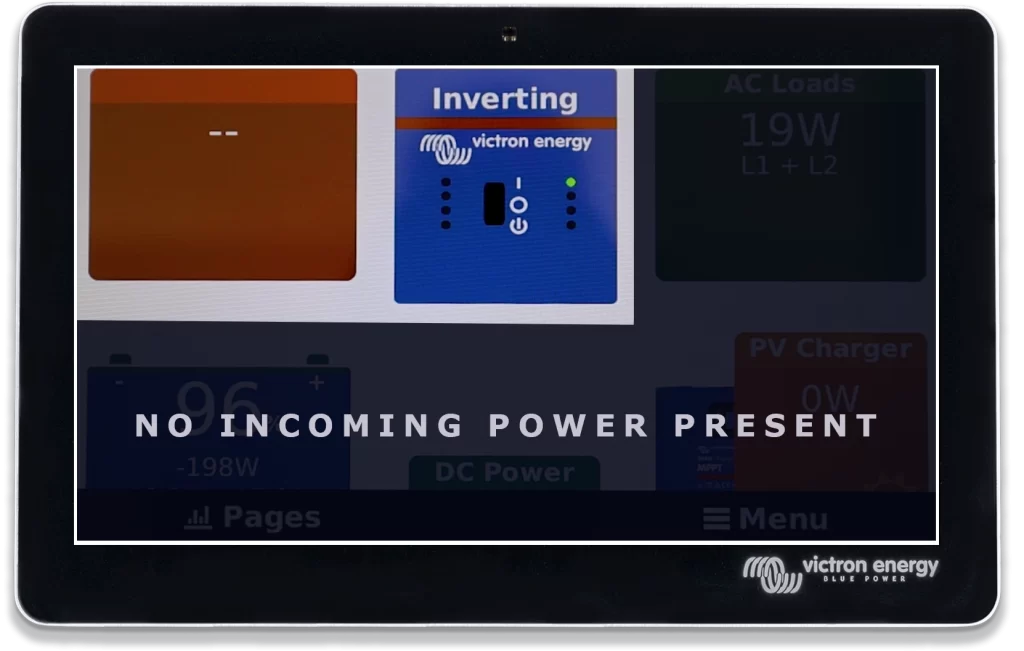
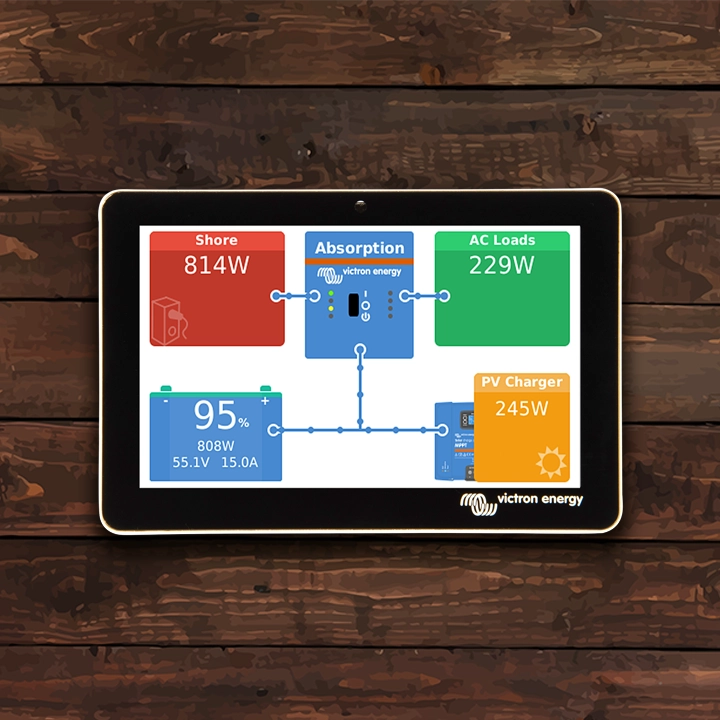
Now that you’ve plugged into shore power, look at your Touch 50 or Touch 70 screen to see if the shore power is coming in. This could take 3-5 minutes.
The ” – – ” in the red box located in the top left hand corner of the Victron Touch screen means that there is no incoming shore power. The inverter in the blue box in the center of the screen is showing “Inverting” mode, also an indicator that it is not yet connected to shore power.
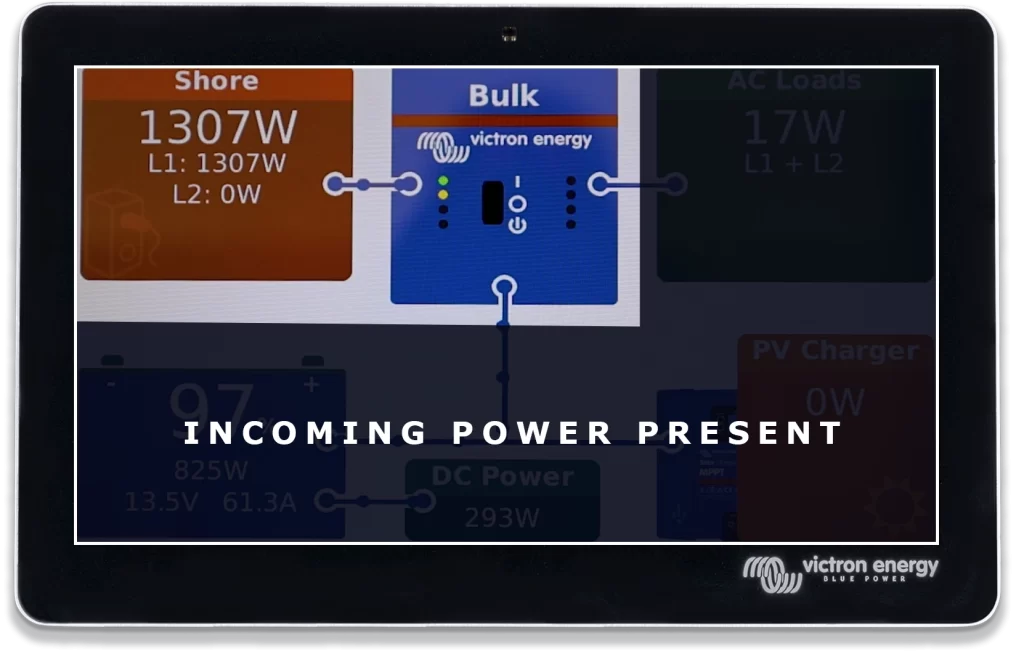
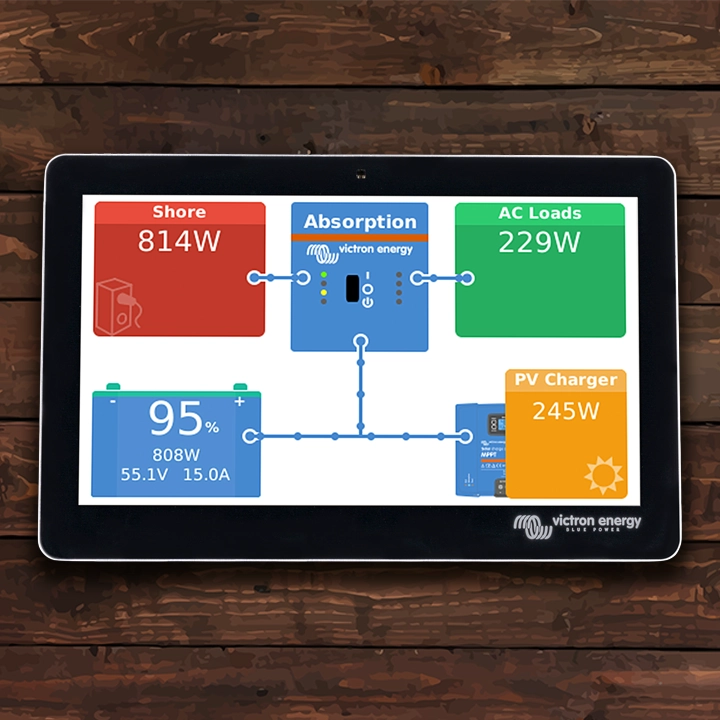
You will know that the inverter has connected to incoming power and is allowing it to pass through when you begin to see the power displayed (in watts) in the red box.
“Bulk” mode on the inverter indicates that it is actively charging the batteries from incoming shore power.
5. Set to Charger-Only
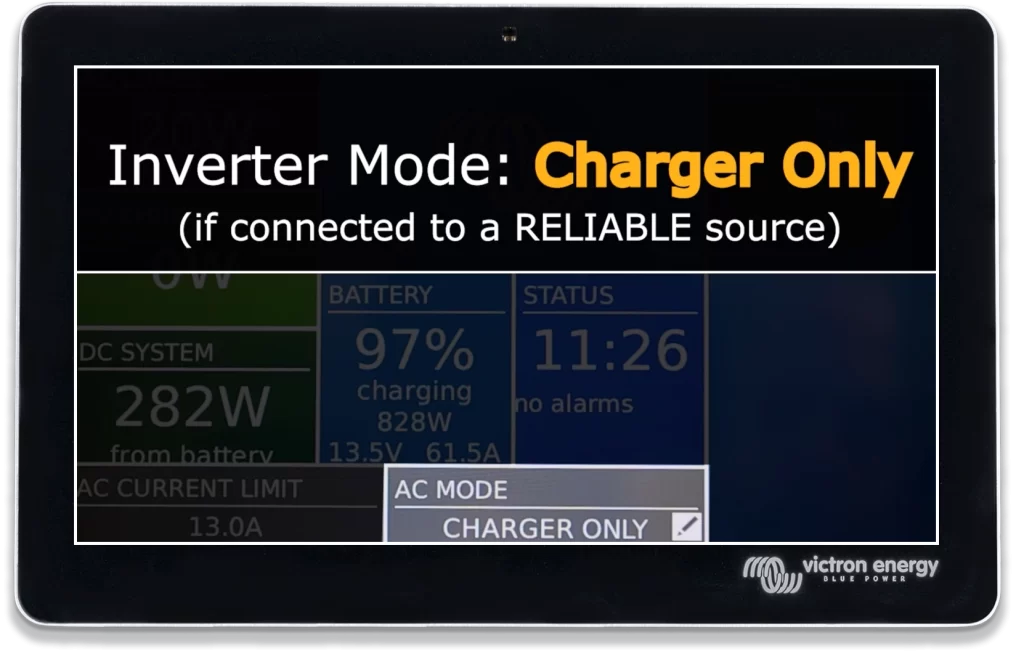
If you’re connected to a reliable power source (one you know won’t disconnect suddenly) and you don’t need the power assist from your Victron inverter, the last step is to set the inverter to “Charger-only”.
If you’re not sure about the reliability of your power source, or you need more power than the outlet you’re plugged into, leave the inverter set to “ON”.
Remember if you have a single MultiPlus or MultiPlus-II 12/3000, that they are 2400 watt continuous inverters, meaning they’re capable of powering up to 2400W (20A) loads. Typically this means one large heating/cooling appliance (A/C, electric heater, blow dryer, InstaPot, microwave, etc.) in addition to many smaller appliances (charging devices, lights, fans, TV’s, fridge, etc.).
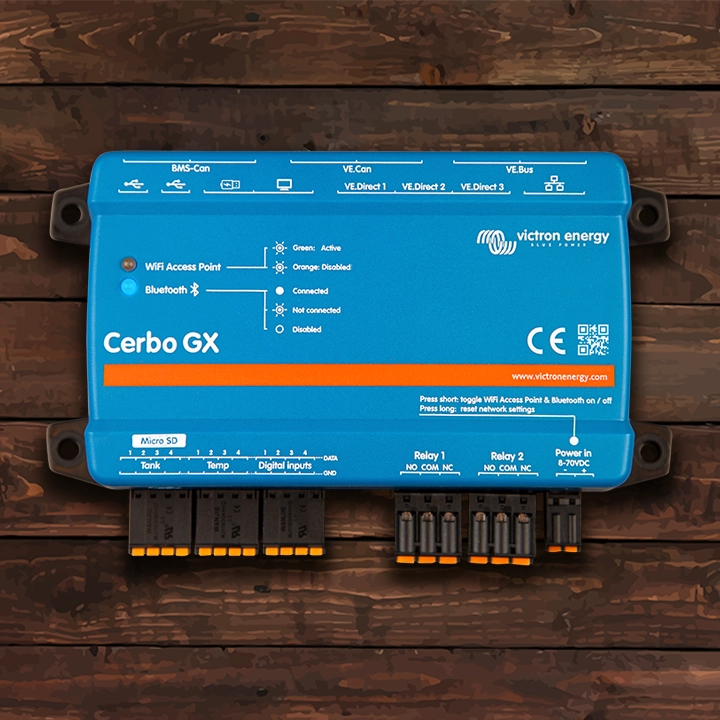
Need a Touch screen or cerbo for your system?
These steps utilize the Victron Touch 50 and Touch 70 screens, paired with the Cerbo GX or Cerbo S-GX. If you don’t already have this smart monitoring components, consider upgrading!
This article is not sponsored. If you found this information helpful and are going to purchase one of the products described, please consider using our affiliate links so we may earn a small commission, at no additional cost to you.
